Add a Free Custom Domain to hashnode Blog

What is hashnode
According to their LinkedIn "Hashnode is a free content creation platform that enables developers to create a full-fledged & optimized blog mapped to their custom domain for free." founded by Sandeep Panda and Syed Fazle Rahman in 2016. Hashnode also provide a subdomain for those who don't have any custom domain to map, for example, YourBlogName.hashnode.dev
One of the reasons not to have a custom domain may be that they are expensive or, in most cases, the domain name is unavailable. In any of the above cases, you don't have to worry. I am here with a free and perfect solution for this.
Freenom - A Name for Everyone
Freenom is the world's first and only free domain provider. Our mission is to bring people online and help countries develop their digital economy. By breaking barriers and integrating free domains with the latest website building and hosting technologies, Freenom makes it easy for any business or individual to build websites and content, at no cost. - official freenom site
Step 1
Without further ado, let's move on to the step by step tutorial of adding a freenom custom to your hashnode blog.
Creating Freenom Account
- Goto https://www.freenom.com/.
- On the top right corner click on Sign in.
- I suggest you click on Google or Facebook auth rather than typing your email but it's completely up to you.
- After this step, you will be redirected to clientarea page.
Registering New Domain
Once your account is successfully created go to the Services dropdown and select Register a New Domain from there.
- Search for the domain name you need in the search bar provided.
- There are 5 domains available for free .tk .ml .ga .cf .gq
- Click on Get it now! button.
- And proceed with the checkout process.
Step 2
Now let's map the new domain to our hashnode blog
Setting up hashnode blog
Once you get a brand new domain head up to hashnode.com.
- Click on Blog Dashboard.

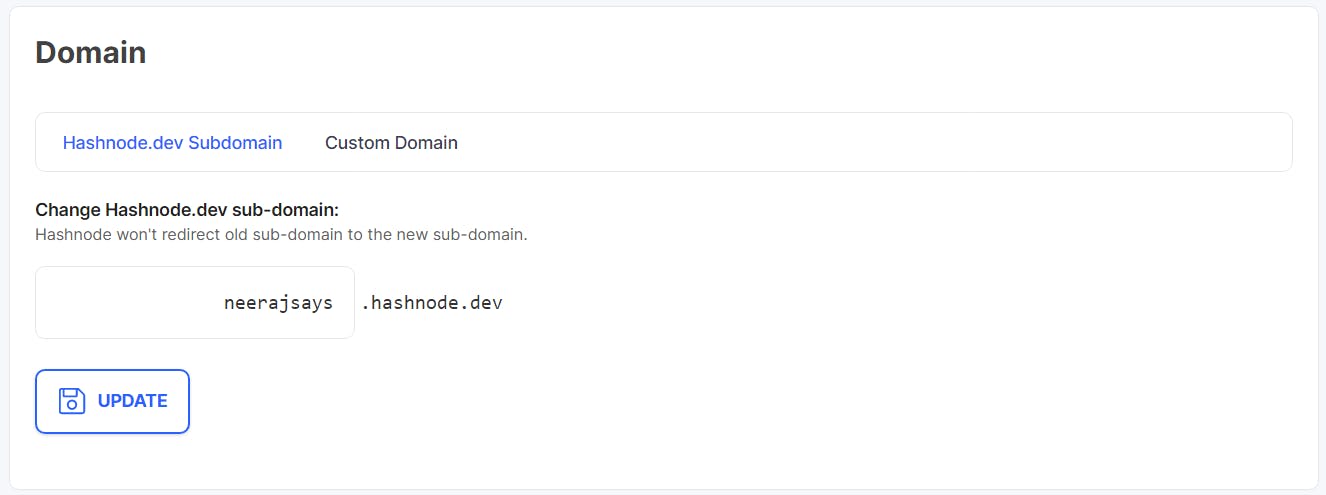
- Go to the Domain section.

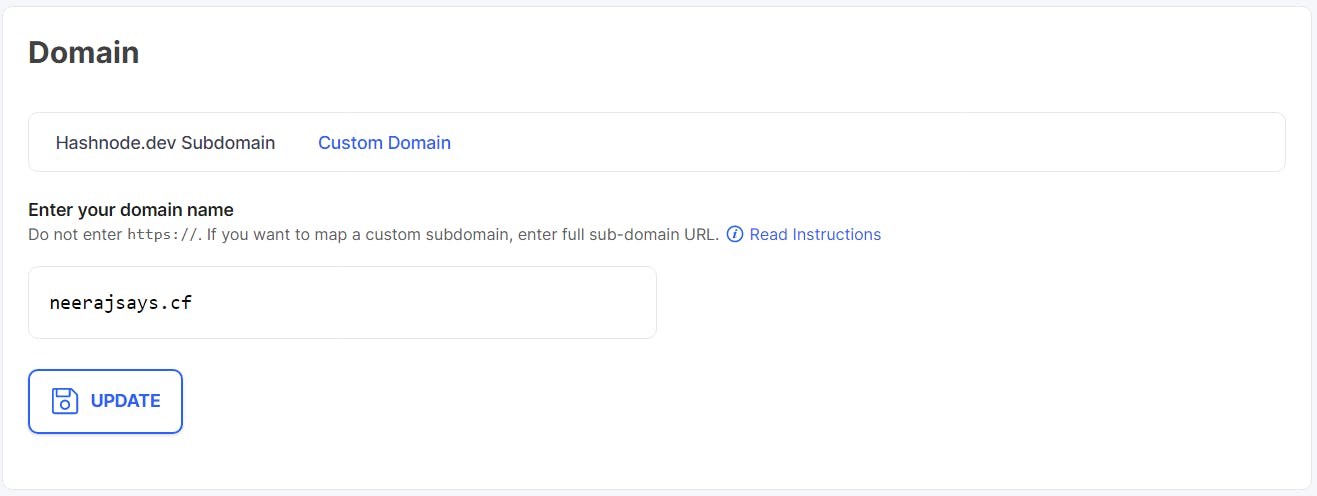
- Click on Custom Domain and type the domain name in the text field and click UPDATE.

Adding DNS Record
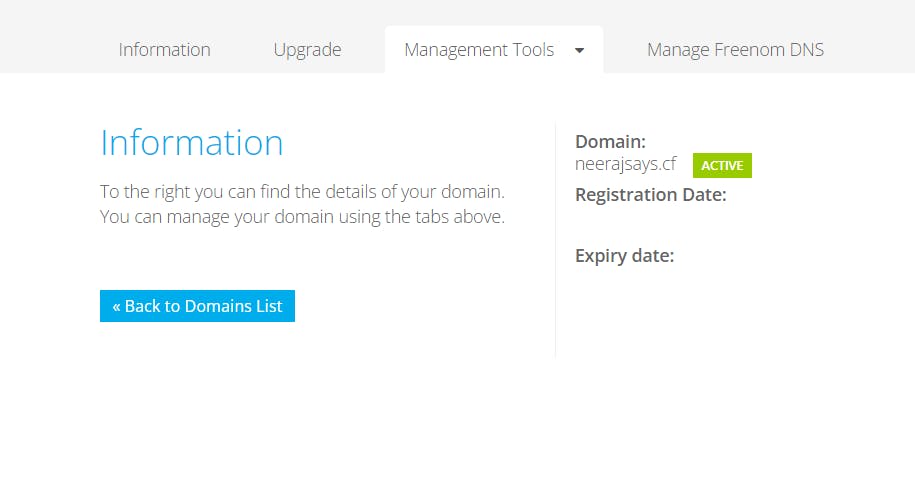
Now go to the My Domains section in Freenom and find the domain you recently purchased.
- Click on Manage Domain
- Click on Manage Freenom DNS

- You will have to add a new DNS record as below, and then click on save changes
| Name | Type | TTL | Target | ||
| blank | A | 300 | 76.76.21.21 |
- Once that is done, come back to the hashnode domain section.
Done!
Now sit back and wait for some time. Ideally, it may take up to 24 hours for DNS changes to propagate fully. But it's usually pretty quick. In my case, the website was up in 10 min. You can check the progress by using a service like this. Wait until you see these three checkpoints in green colour.
 Hashnode will automatically provision an SSL certificate for your domain using Let's Encrypt when you visit your blog for the first time.